We needed to renew and update our certificate for www.codesy.io, and I’ve been wanting to use Let’s Encrypt for a while. I had read and tried some other guides for using Let’s Encrypt on Heroku, but none of them cover DNS domain validation. The steps are roughly:
- Install
certbot - Use
certbotto generate a manual cert - Deploy a TXT record to your DNS
- Upload signed certificate to Heroku
- Update your DNS Target
Install certbot
First, you’ll need certbot:
brew install certbot
Note: The certbot site contains install instructions for other systems.
Use certbot to generate a manual cert
With certbot you will need to generate a cert to manually install to the
Heroku server, and specify DNS as your preferred challenge:
sudo certbot certonly --manual --preferred-challenges dns
Note: certbot needs sudo to put resulting files into /etc/
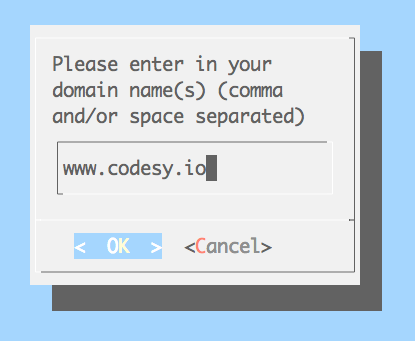
certbot will ask you the domain for which you want a certificate …
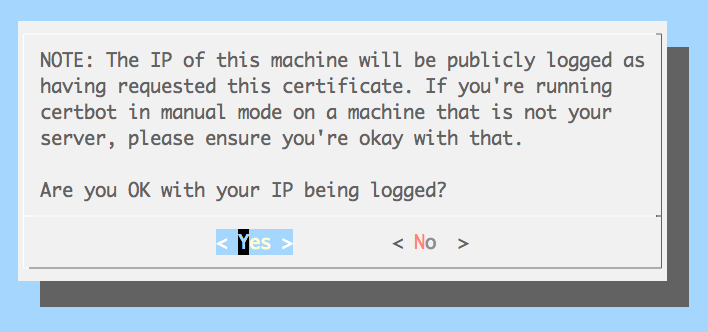
… and if you’re OK with your IP being logged as having requested the certificate …
… and will finally tell you what DNS TXT record to deploy:
Please deploy a DNS TXT record under the name
_acme-challenge.www.codesy.io with the following value:

CxYdvM...5WvXR0

Once this is deployed,
Press ENTER to continue
Note: Don’t press ENTER until you have deployed your TXT record
Deploy a TXT record to your DNS
Your domain registrar likely has its own docs for adding a TXT record. Here are some links to a few:
- GoDaddy
- Hover
- Google Domains (docs by Microsoft!)
- Amazon Route 53 (See Basic Resource Record Sets)
Upload signed certificate to Heroku
Go back to certbot and press ENTER. It will create signed certificate files
in your /etc/letsencrypt directory.
SSL is now included on all paid dynos on Heroku. The $7/mo. for a hobby dyno is still cheaper than $20/mo. for the old SSL Endpoint add-on. So, to change to a hobby dyno, go to your app’s Resources panel and click “Change…”

Then, use heroku certs:add to add your Let’s Encrypt fullchain and privkey
files.
sudo heroku certs:add --type=sni /etc/letsencrypt/live/www.codesy.io/fullchain.pem /etc/letsencrypt/live/www.codesy.io/privkey.pem
Note: Again, heroku needs sudo to access files in /etc/
You can also copy+paste your certificates’ contents in your app’s settings dashboard - under “Domains and certificates”, click “Configure SSL”.
Update your DNS Target
Finally, update your DNS CNAME record for your domain to point to the
certificate-domain.herokudns.com. In our case, it was
www.codesy.io.herokudns.com

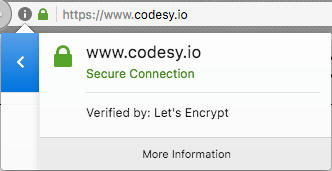
Enjoy your Let’s Encrypt-verified site!